I know that feeling.
You look at your empty yard and feel overwhelmed. Where do you even start?
Don’t worry, I’ve been there too. It’s not as hard as it seems.
With the right steps, you can turn that blank space into a beautiful garden. Designing Garden Beds Kdagardenation is more about smart planning than having a green thumb.
I’ve helped countless homeowners transform their bare patches of lawn into productive and beautiful gardens. Over the years, I’ve seen what works and what doesn’t.
In this guide, I’ll walk you through the exact steps to create a garden bed design that thrives. No guesswork. No confusion.
Just a clear, step-by-step process that anyone can follow.
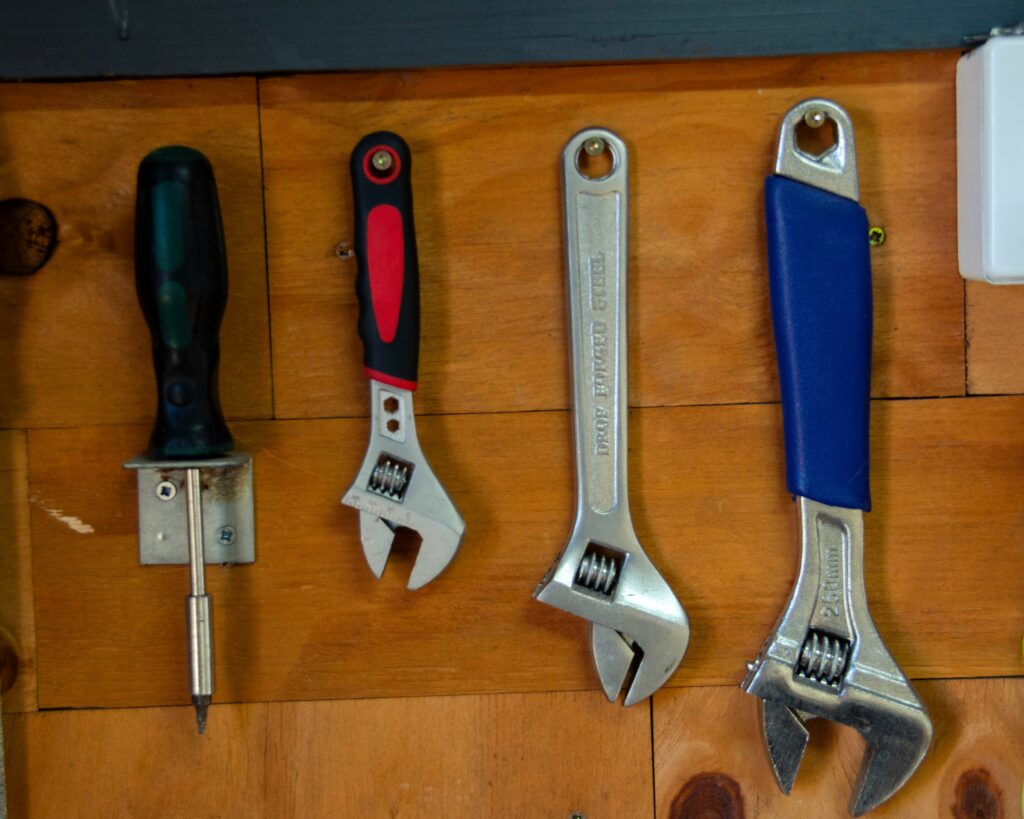
Step 1: The Foundation – Planning Before You Plant
Before you even think about digging, you need to pick the right spot. Sun mapping is key.
You’ll want to observe your yard at different times of day. Find a place that gets at least 6 hours of direct sunlight. Trust me, this can make or break your garden.
Understanding your space is just as important. Consider the water source. Is it close by?
How about wind exposure? And don’t forget about existing slopes. They can affect drainage and soil quality.
Now, in-ground vs, and raised beds. Both have their pros and cons. In-ground beds are great for natural soil and easy on the budget.
Raised beds, though, offer better drainage and are easier on your back. Plus, they can help with pest control.
Planning for access is key. Design pathways around and between your beds. This way, you can water, weed, and harvest without compacting the soil.
It’s a small detail, but it makes a big difference.
Kdagardenation has some great tips on Designing Garden Beds Kdagardenation. Check them out for more detailed guidance.
Step 2: Choosing Your Style – Design Ideas
to the classic formal design. Symmetrical layouts with geometric shapes like squares and rectangles, and clean lines. It’s perfect for vegetable and herb gardens.
Why? Because it looks neat and organized. Plus, it’s easy to maintain.
Now, if you’re more of a relaxed gardener, go for the informal or ‘cottage’ style. Curved beds, mixed plantings of flowers and edibles. It feels natural and cozy.
This style is all about embracing the chaos. Let your plants mingle and grow as they please. It’s a breath of fresh air.
For those short on space, consider the Keyhole garden bed design. Its shape maximizes growing area and provides easy access from a central point.
It’s a smart way to use every inch of your garden. And it looks cool too.
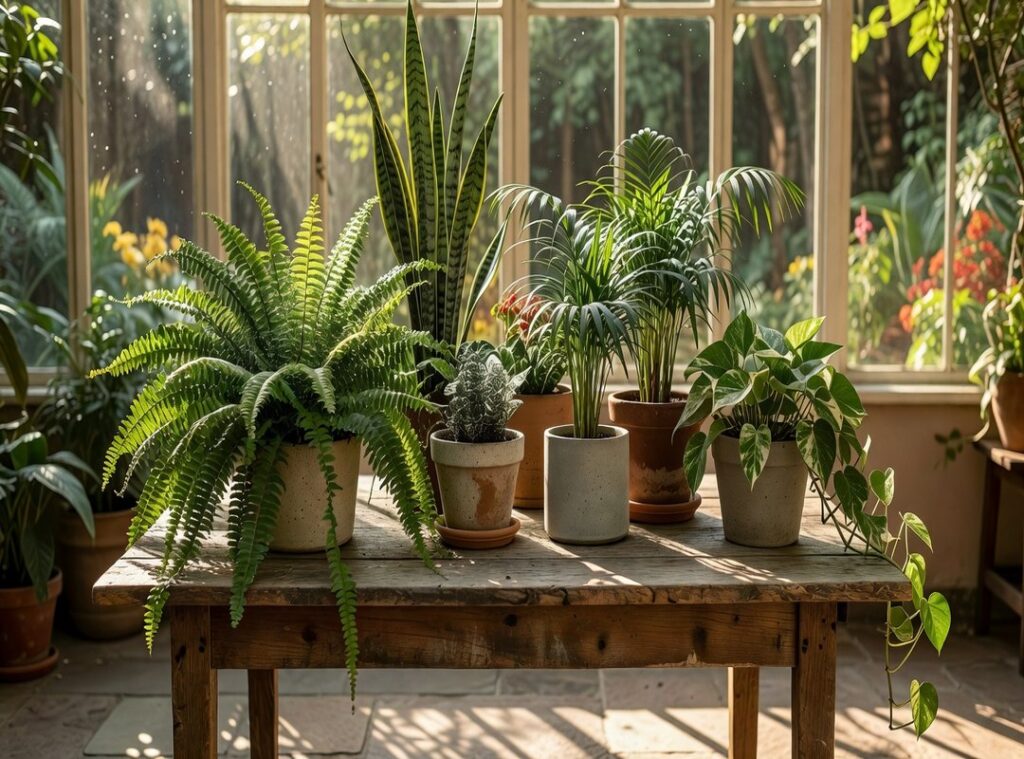
Vertical gardening is another great option. Incorporate trellises, obelisks, or A-frames for climbing plants like beans, cucumbers, or peas.
This adds height and saves space. Perfect for small gardens or balconies.
Does vertical gardening really work? Yes, it does. I’ve seen it transform tiny spaces into lush, productive gardens.
So, which style suits you? Formal, cottage, keyhole, or vertical? Pick one and start Designing Garden Beds Kdagardenation.
The Art of Arrangement: Laying Out Your Plants
So, you’ve got your plants. Now, how do you arrange them?
Let’s talk about the Thriller, Filler, Spiller concept. It’s all about creating layers in your garden. Thrillers are the showstoppers (tall,) dramatic plants that catch the eye.
Fillers, as the name suggests, fill in the middle. And spillers? They drape over the edges, adding a touch of elegance.
Companion planting is another key. Marigolds with tomatoes to deter pests. Basil to improve tomato flavor.
Nasturtiums as a trap crop for aphids. Simple, right?
I wrote more about this in Garden decoration kdagardenation.
Now, plant spacing. Follow what the seed packet says. But also consider square foot gardening principles.
This is especially useful if you’re working with a smaller space.
Succession planting is a must. Plan to replace early spring crops like lettuce with warm-season crops like peppers. This keeps your garden looking full and productive.
Pro tip: Always think ahead. What will your garden look like in a month? In three months?
(It’s like planning a party, but for plants.)
And don’t forget, adding decorative elements can really tie your garden together. Think trellises, stepping stones, or even a little water feature.
Designing garden beds Kdagardenation is all about balance and creativity. Trust me, a well-planned garden is a joy to behold.
You can read more about this in this guide.
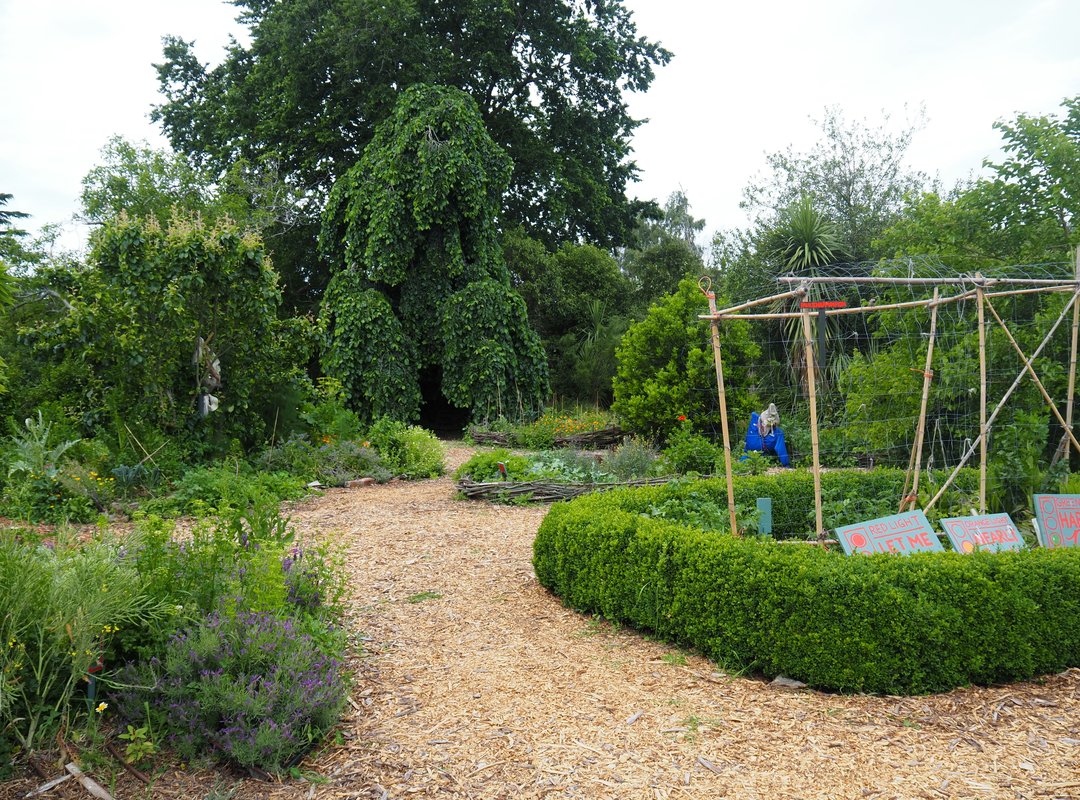
Step 4: Finishing Touches – Borders, Paths, and Personality
Bed borders are more than just pretty. They define your space and keep things neat. Natural stone, brick, and untreated wood are all solid choices.
Each has its own vibe.
For pathways, go with something simple and functional. Wood chips, pea gravel, or stepping stones work great. They keep your feet clean and add a nice touch.
Don’t forget to add a personal element. A small birdbath, a decorative trellis, or unique plant markers can make the design feel like yours. It’s those little details that make it special.
If you’re looking for more ideas, this guide can help.
Start Sketching Your Dream Garden Today
Starting with a blank slate can feel daunting.
But you’ve got this. Remember the 4-step process: Plan your foundation, choose a style, arrange your plants, and add those finishing touches.
The best Designing Garden Beds Kdagardenation is one that fits your specific space, style, and needs.
Don’t overthink it. Just start.
Grab a pencil and paper. Sketch one bed design you learned about today. It doesn’t have to be perfect.
Just start.
 Rebecca McDanielords is the kind of writer who genuinely cannot publish something without checking it twice. Maybe three times. They came to diy home projects through years of hands-on work rather than theory, which means the things they writes about — DIY Home Projects, Gardening and Landscaping Ideas, Home Design Trends, among other areas — are things they has actually tested, questioned, and revised opinions on more than once.
That shows in the work. Rebecca's pieces tend to go a level deeper than most. Not in a way that becomes unreadable, but in a way that makes you realize you'd been missing something important. They has a habit of finding the detail that everybody else glosses over and making it the center of the story — which sounds simple, but takes a rare combination of curiosity and patience to pull off consistently. The writing never feels rushed. It feels like someone who sat with the subject long enough to actually understand it.
Outside of specific topics, what Rebecca cares about most is whether the reader walks away with something useful. Not impressed. Not entertained. Useful. That's a harder bar to clear than it sounds, and they clears it more often than not — which is why readers tend to remember Rebecca's articles long after they've forgotten the headline.
Rebecca McDanielords is the kind of writer who genuinely cannot publish something without checking it twice. Maybe three times. They came to diy home projects through years of hands-on work rather than theory, which means the things they writes about — DIY Home Projects, Gardening and Landscaping Ideas, Home Design Trends, among other areas — are things they has actually tested, questioned, and revised opinions on more than once.
That shows in the work. Rebecca's pieces tend to go a level deeper than most. Not in a way that becomes unreadable, but in a way that makes you realize you'd been missing something important. They has a habit of finding the detail that everybody else glosses over and making it the center of the story — which sounds simple, but takes a rare combination of curiosity and patience to pull off consistently. The writing never feels rushed. It feels like someone who sat with the subject long enough to actually understand it.
Outside of specific topics, what Rebecca cares about most is whether the reader walks away with something useful. Not impressed. Not entertained. Useful. That's a harder bar to clear than it sounds, and they clears it more often than not — which is why readers tend to remember Rebecca's articles long after they've forgotten the headline.