Make the Most of Every Inch
Small spaces force smart decisions, and your best storage moves often start in the most overlooked places. Corners, nooks, spots above doorways — these areas can hold more than most think. Floating shelves, hook systems, and built-ins can turn dead space into hardworking zones without making things feel boxed in.
Going custom might sound extravagant, but it’s often the best route for tight spaces. You get a tailored fit, smarter function, and storage that flexes around how you live. Think vertical pull-out drawers instead of bulky cabinets or lofted storage that doubles as display.
Done right, these space-maximizing tweaks don’t just hide clutter — they add personality too. Pick materials and lines that match your style so the solution feels designed, not improvised. Clean, useful, and easy on the eyes. That’s the goal.
Before you touch a tool, get clear on what the shelves are for. Are you stacking books, showing off collectibles, or storing camera gear? Purpose drives everything—size, material, spacing.
Next, measure your wall space. Then measure it again. That second pass catches outlets, molding, and other surprises. Don’t skip it.
Sketch a simple plan to scale. Pen and graph paper works fine, or try a digital layout tool. Either way, you’ll catch balance issues before they become real.
Finally, know your wall. Drywall isn’t the same as brick or plaster. Your fasteners and anchors must match the surface and weight. Pushing limits leads to falling shelves. Skip that headache.
Solid Shelving: Materials, Mounts, and Must-Have Tools
If you’re building shelves that need to do more than just look good on camera, start with your wood. Pine is a solid budget choice with decent strength and a clean, rustic appeal. Oak costs more but brings heavyweight durability and a tight grain that stains beautifully. Plywood may sound basic, but pick the right grade and it’s surprisingly sturdy and versatile—especially for painted finishes or modern, minimalist designs.
Mounting matters too. Brackets are beginner-friendly and strong. You screw them into studs, drop a board on top, and you’re good. They’re visible, but that’s not always a bad thing—there are plenty that look sharp. Floating systems hide the hardware for a cleaner finish. They look great but demand precise installation and only work well if your wall studs are in the right place. Skimp here, and your shelf may sag—or worse, fall.
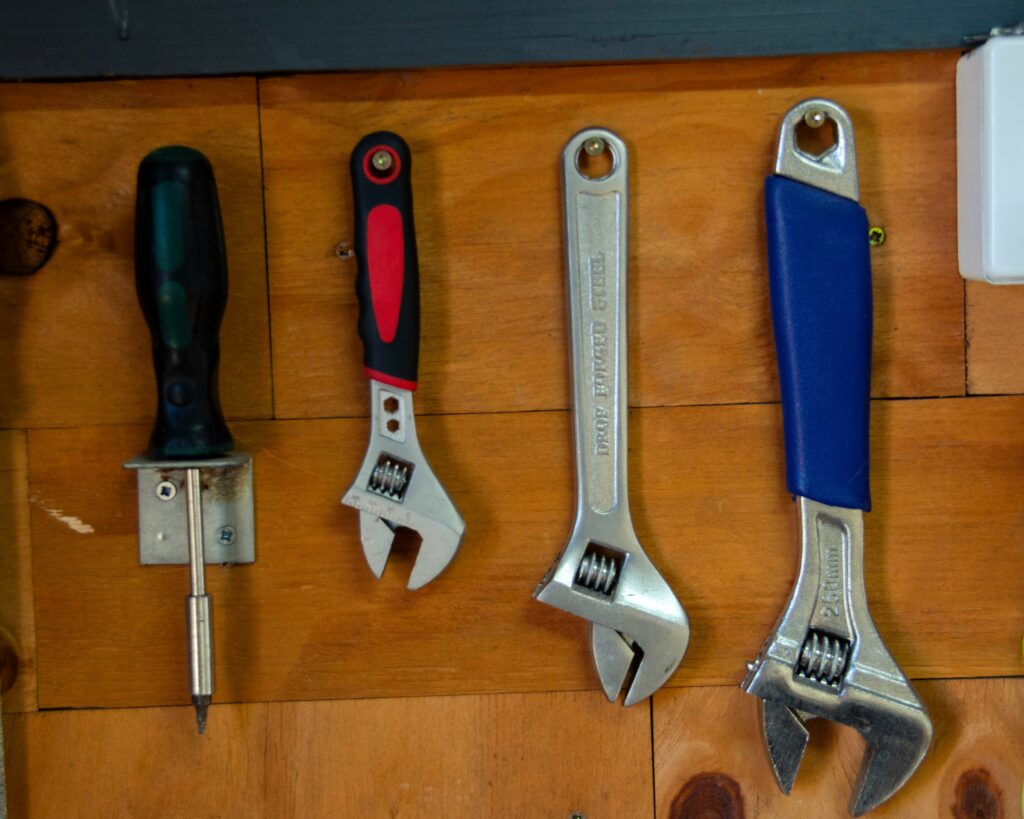
The right tools make or break the job. You’ll need a decent drill, a level to keep everything straight, a stud finder to avoid drywall disasters, and a saw (a simple hand saw works, but a circular saw trims with speed and precision). Keep it basic, but don’t cheap out. A shelf only works if it holds.
Clean edges start with the right blade. Use a fine-tooth saw or a sharp circular saw blade to minimize splintering while cutting. Always measure twice, cut once, and let the blade do the work without forcing it.
Once cut, sanding is key. Start with a medium grit to smooth out tool marks, then finish with finer grit to prep the surface for stain or paint. Don’t skip corners or edges—those catch the eye more than you’d think.
Get your finish on before mounting. It’s way easier to coat every surface evenly when the pieces are flat and accessible. Paint, stain, or seal fully and let it dry completely before installing.
Designing around a bold wall? Pair the shelving finish thoughtfully. For inspiration, check out this step-by-step guide to painted accent walls: Step-by-step guide to painted accent walls.
Style Meets Storage: Smart Organization for Visual Spaces
When designing a vlogging or creative setup, organization should serve both function and form. An efficient space helps you stay productive, but a stylish space elevates your content on camera.
Balance Function With Aesthetics
A clutter-free workspace doesn’t have to sacrifice personality. Arrange your items intentionally so they look great and serve a purpose.
- Group similar items together for a visually calming effect
- Build zones (editing, filming, storage) so each function has a clear place
- Leave intentional white space to avoid visual overload
Use Storage Bins or Baskets
Loose items cause distractions and visual noise on camera. A few well-placed containers can transform your look.
- Choose lidded bins or woven baskets that complement your color scheme
- Use label tags for quick access and a clean, uniform appearance
- Store gear cables, notebooks, or props out of sight but within reach
Consider Strategic Lighting
Lighting isn’t just for your face—it’s key to showcasing shelves, gear, or design details.
- Add ambient lighting to soften the background and set the mood
- Use LED strips or puck lights in shelving to spotlight items
- Keep lighting color and brightness consistent with your filming setup
A well-organized space enhances your productivity and becomes an asset in your content itself. Think of it as part of your brand, not just background.
Before you go drilling into your wall to mount a shelf or camera rig, slow down. Doing it right matters—not just for looks but for safety.
Start by finding the studs. Drywall isn’t designed to hold serious weight on its own, and anchors only go so far. Use a stud finder, tap and listen, or measure from the corner to locate where the vertical wood framing runs. Mounting into a stud gives your setup a solid backbone.
Next, mark your level lines. Skip this step and you’ll end up with brackets that lean or gear that tilts. A simple level and pencil go a long way to making sure your stuff doesn’t look like it was installed in the dark.
Now comes hardware. If you’re using brackets, make sure they’re fixed snugly into the studs. If you’re going for floating shelves or mounts, follow the weight rating and use the correct anchors or bolts. Don’t cut corners—you’ll regret it.
Finally, test strength before you load up. Push, pull, and give it some stress. If it wiggles, fix it. Only when it’s rock solid should you trust it with gear, displays, or anything fragile.
Built-in vibes don’t always require custom carpentry. Adding trim around standard shelving or cabinetry can create that seamless, intentional look without blowing the budget. It’s a smart hack to elevate a space and give content backgrounds a more polished, less makeshift feel.
Pairing open shelving with closed cabinets underneath keeps things functional and clean. The open shelves are perfect for showcasing personality—gear, books, or subtle branding—while the cabinets hide the mess creators don’t need in the frame. It’s balance, without the clutter.
Floating shelves placed above desks or nightstands pull double duty. On camera, they frame space nicely. Off camera, they hold tools or props within arm’s reach. For creators working in tight quarters, these shelves help make every inch count.
Custom shelving is one of those DIY projects that sounds intimidating until you actually give it a shot. With a solid plan in place, it’s more about patience and precision than advanced skills. You don’t need to be a master carpenter—you just need to measure twice, cut once, and know what look you’re going for.
What makes custom shelving such a win is the payoff. For a relatively low investment in materials, you can completely change the vibe of a room. It’s functional, but it also adds personality—whether that’s raw wood for a rustic feel or crisp paint and clean lines for something more modern.
Take your time during the planning phase. Decide how the shelves will be used, what they’ll hold, and most importantly, where the studs are. Once the structure is solid, you’ve got room to play. Add a pop of color, mix in metal brackets, or sand everything smooth for a minimalist look. It’s your space. Make it feel like it.
 Ask Geldric Kelthorne how they got into gardening and landscaping ideas and you'll probably get a longer answer than you expected. The short version: Geldric started doing it, got genuinely hooked, and at some point realized they had accumulated enough hard-won knowledge that it would be a waste not to share it. So they started writing.
What makes Geldric worth reading is that they skips the obvious stuff. Nobody needs another surface-level take on Gardening and Landscaping Ideas, Creative Inspirations, DIY Home Projects. What readers actually want is the nuance — the part that only becomes clear after you've made a few mistakes and figured out why. That's the territory Geldric operates in. The writing is direct, occasionally blunt, and always built around what's actually true rather than what sounds good in an article. They has little patience for filler, which means they's pieces tend to be denser with real information than the average post on the same subject.
Geldric doesn't write to impress anyone. They writes because they has things to say that they genuinely thinks people should hear. That motivation — basic as it sounds — produces something noticeably different from content written for clicks or word count. Readers pick up on it. The comments on Geldric's work tend to reflect that.
Ask Geldric Kelthorne how they got into gardening and landscaping ideas and you'll probably get a longer answer than you expected. The short version: Geldric started doing it, got genuinely hooked, and at some point realized they had accumulated enough hard-won knowledge that it would be a waste not to share it. So they started writing.
What makes Geldric worth reading is that they skips the obvious stuff. Nobody needs another surface-level take on Gardening and Landscaping Ideas, Creative Inspirations, DIY Home Projects. What readers actually want is the nuance — the part that only becomes clear after you've made a few mistakes and figured out why. That's the territory Geldric operates in. The writing is direct, occasionally blunt, and always built around what's actually true rather than what sounds good in an article. They has little patience for filler, which means they's pieces tend to be denser with real information than the average post on the same subject.
Geldric doesn't write to impress anyone. They writes because they has things to say that they genuinely thinks people should hear. That motivation — basic as it sounds — produces something noticeably different from content written for clicks or word count. Readers pick up on it. The comments on Geldric's work tend to reflect that.