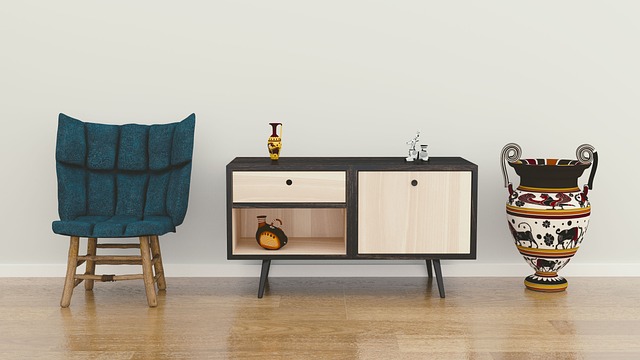
Why Accent Walls Work
If your space feels flat or unfinished, an accent wall is an easy win. No need to tear anything down or spend days patching drywall. One wall, one weekend, and the right choice of color or texture that’s all it takes to shift the entire vibe of a room.
Accent walls create instant contrast. They break up uniform paint jobs, add dimension, and pull your eye toward key areas like the head of a bed, a reading nook, or behind a desk on video calls. Depending on the material or style you choose, an accent wall can introduce warmth, edge, elegance, or eclectic character.
Best part? You don’t need a huge budget. Paint, peel and stick wallpaper, or a couple of pre cut panels can cost less than a fancy dinner out. In terms of effort and cost, it’s one of the highest impact, lowest lift projects in DIY. Perfect for renters, first time homeowners, or anyone who wants a fast refresh without the chaos of a full reno.
Choosing the Right Wall
Creating a stunning accent wall starts with one critical decision: choosing the right wall. Not every surface is suited to steal the spotlight, and the best results come from thoughtful planning. Here’s how to make that call with confidence.
Pick a Natural Focal Point
Most rooms already have a wall that naturally pulls attention this should usually be your go to.
Behind the headboard in a bedroom
Behind the sofa in a living room
The TV wall or entertainment center
Dining room walls framed by art or lighting fixtures
Ask yourself: where does the eye naturally go when entering the space? Start there.
Consider Lighting and Layout
Natural light and furniture placement can make or break your accent wall. Be strategic.
Avoid painting poorly lit walls dark colors will look muddy, not dramatic
Use light colored accents to brighten darker areas
Make sure furniture isn’t blocking the wall’s impact, especially large items like bookshelves or armoires
Tip: If direct sunlight hits your accent wall, choose finishes that won’t show glare or fading.
Scale to Fit the Space
Choosing a bold color or strong pattern? Make sure your space can handle it.
In small rooms, pick softer tones or simpler textures to avoid visual overwhelm
Use vertical patterns (like board and batten or slats) to elongate low ceilings
Stick to one wall only in compact areas wrapping color around corners can shrink the feel of the room
The best accent walls feel intentional, not overpowering. Plan with balance in mind and you’ll achieve a look that enhances not dominates your space.
Paint Based Accent Walls
Paint is often the easiest and most customizable way to create an accent wall and with just a weekend to work with, it delivers high visual impact without high effort.
Bold vs. Muted: Choosing the Right Tone
Whether you want a wall that makes a statement or one that adds quiet sophistication, color choice is everything.
Bold Colors Work Best In:
Larger rooms that can handle saturation
Spaces needing a focal point (like behind a sofa or bed)
Interiors with neutral or minimalist palettes as a base
Muted Tones Work Best In:
Smaller rooms that need subtle dimension
Areas where you want calming, seamless flow (like bedrooms or reading nooks)
Homes with existing soft, earthy, or monochrome design schemes
Creative Techniques to Try
Go beyond a simple coat of paint with patterns that add structure and style:
Color Blocking
Use painter’s tape to section off shapes or stripes
Try two complementary or contrasting colors for impact
Geometric Designs
Triangles, diamonds, or intersecting lines offer a bold contemporary feel
Great for modern and mid century inspired interiors
Pro Tips for a Flawless Finish
Prep your wall with a smooth sanding and primer layer
Use high quality painter’s tape to get crisp lines
Remove tape while the paint is still slightly wet to avoid peeling
Use a level and ruler if you’re working with patterns or shapes
Need a supply refresh before you start?
(New to DIY? Here’s a list of essential tools for DIY beginners)
Wood & Paneling Statements
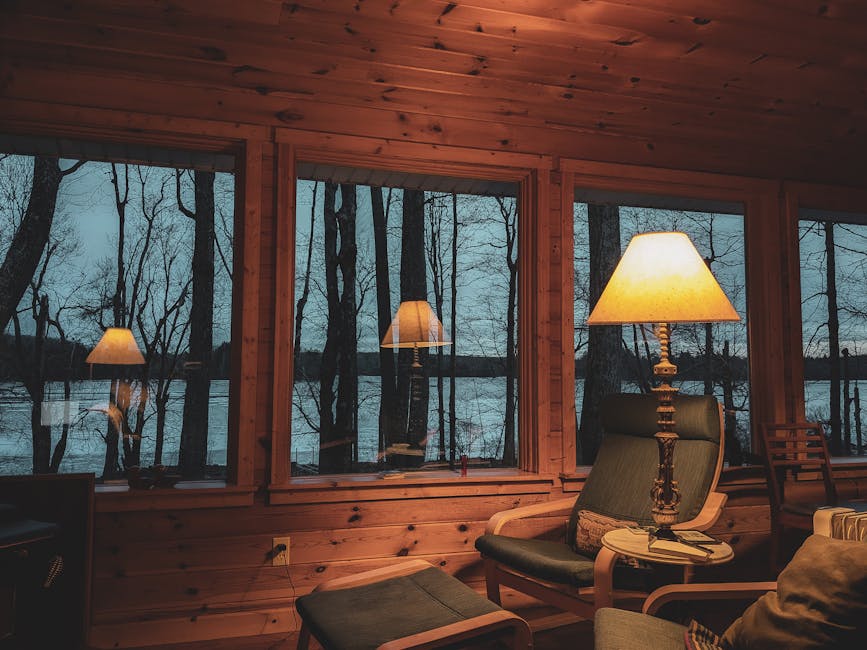
There’s something quietly powerful about wood on walls. It adds warmth, dimension, and a custom feel that paint just can’t match. And the good news? You don’t need a full workshop to make it happen.
Start with DIY wood slat walls clean vertical or horizontal lines that look high end but are surprisingly beginner friendly. With a trim saw, a level, and some patience, you can create an elegant feature that turns a plain wall into the room’s focal point. Stain the slats for a rich, moody vibe or leave them raw for a more natural, Scandinavian feel.
Not ready to saw? Peel and stick wood panels have come a long way. They’re lightweight, easily adjustable, and available in finishes from reclaimed barnwood to sleek walnut. Stick them directly onto a clean wall no mess, no sawdust.
For fans of softer, cottagecore or coastal aesthetics, shiplap and beadboard get the job done. Pre cut panels make installation fast, especially if you’re sticking to a half wall design. Painted white or in gentle pastels, they bring instant charm with just a bit of effort.
The takeaway: wood and paneling offer status without the stress. Whether you’re team power tools or team peel and stick, there’s a version that fits your space and skill set.
Wallpaper Wonders
If you’re not ready to commit or you’re renting and can’t paint temporary wallpaper is your best friend. It’s peelable, won’t damage walls, and comes in hundreds of modern patterns, from minimalist textures to bold murals. Perfect for adding a statement without long term consequences.
Start your search with brands like Chasing Paper, Tempaper, or Spoonflower. They offer high quality options that actually stick but also come off clean when you’re ready for a change. Big box retailers like Target and Home Depot also carry stylish, budget friendly selections.
When hanging, don’t rush. Wipe down your wall first (dust is your enemy). Use a level or chalk line to start straight crooked panels are a headache to fix later. Peel slowly as you go and smooth out bubbles with a plastic scraper or credit card. If there’s misalignment, most brands let you gently reposition once or twice. Take your time, and you’ll make your wall look pro even if it’s only staying up for a year.
Textured & 3D Options
If your wall needs a little more than paint to make a statement, 3D and textured accents are the upgrade to look at. Molding and trim are often overlooked, but they can completely alter the tone of a room. A few strips of trim, placed with intention, can fake the look of classic architecture without calling in a contractor or blowing your budget. Think picture frame molding, thin battens, or chair rail lines. Clean cuts and symmetry go a long way.
Faux materials are getting smarter too. Brick panels that mimic the real thing, stacked stone veneers, even decorative plaster sheets these all bring depth without the elbow grease (or dust mess) of real masonry. Most can be adhered directly to drywall and trimmed to fit with basic tools.
To really dial up the look, pair these textures with smart lighting. LED strips placed under molding or sconces mounted near a faux stone wall can turn a simple upgrade into a focal point. Good texture plus good lighting? That’s instant drama without the drama.
Paint + Texture Combos
If you want to add immediate visual punch without going overboard, mixing paint and texture is a smart move. Start with a half wall treatment using board and batten. It’s straightforward enough for a weekend project and adds instant architectural detail. Paint the wall below the trim a bold or dark color while keeping the upper portion light. The contrast creates depth without closing in the space.
Feeling adventurous? Ombre or two tone fade designs are trending hard and for good reason. They pull the eye and add a creative gradient effect without the cost of wallpaper or elaborate materials. Just be sure to blend your colors well for a smooth transition. Practice on a spare board if you’re unsure.
Want to go a step further? Stencils are staging a quiet comeback, especially with subtle patterns or metallic details. A tone on tone stencil in a gloss finish can add texture without flash. Or bring in a hint of gold or copper to catch late afternoon light. Small efforts, big results.
This approach bridges the gap between simple paint jobs and more labor intensive installs. It’s style with restraint and it works.
One Weekend, One Statement
You don’t need a crew or a week off to make an accent wall happen. If you’ve got a day and the basics, you’re good.
Start with prep. Clear the wall, pull furniture out, and give the surface a solid wipe down. Dust, oils, and random smudges can mess with paint or adhesive. Then, patch any holes and sand lightly if needed. Use painter’s tape to mark off moldings or edges clean lines require it. Finally, lay down a drop cloth. You’ll thank yourself later.
Budget depends on your choice of material. If you’re rolling with paint and tape, you can pull it off for around $50. But if you’re using wood slats, peel and stick wallpaper, or textured panels, expect to land closer to $150 $250. Tools like a level, stud finder, or miter box may bump the cost a bit upfront, but they tend to pay off over multiple projects.
As for time? You’ve got two routes. Push hard and you can knock it out in 6 hours ideal for paint or peel and stick setups. If you’re working with trim, wood, or anything more complex, give yourself 10 12 hours. That includes drying time, measuring twice, and maybe getting distracted by lunch.
(Don’t forget your tools for DIY beginners before you start!)
 Rebecca McDanielords is the kind of writer who genuinely cannot publish something without checking it twice. Maybe three times. They came to diy home projects through years of hands-on work rather than theory, which means the things they writes about — DIY Home Projects, Gardening and Landscaping Ideas, Home Design Trends, among other areas — are things they has actually tested, questioned, and revised opinions on more than once.
That shows in the work. Rebecca's pieces tend to go a level deeper than most. Not in a way that becomes unreadable, but in a way that makes you realize you'd been missing something important. They has a habit of finding the detail that everybody else glosses over and making it the center of the story — which sounds simple, but takes a rare combination of curiosity and patience to pull off consistently. The writing never feels rushed. It feels like someone who sat with the subject long enough to actually understand it.
Outside of specific topics, what Rebecca cares about most is whether the reader walks away with something useful. Not impressed. Not entertained. Useful. That's a harder bar to clear than it sounds, and they clears it more often than not — which is why readers tend to remember Rebecca's articles long after they've forgotten the headline.
Rebecca McDanielords is the kind of writer who genuinely cannot publish something without checking it twice. Maybe three times. They came to diy home projects through years of hands-on work rather than theory, which means the things they writes about — DIY Home Projects, Gardening and Landscaping Ideas, Home Design Trends, among other areas — are things they has actually tested, questioned, and revised opinions on more than once.
That shows in the work. Rebecca's pieces tend to go a level deeper than most. Not in a way that becomes unreadable, but in a way that makes you realize you'd been missing something important. They has a habit of finding the detail that everybody else glosses over and making it the center of the story — which sounds simple, but takes a rare combination of curiosity and patience to pull off consistently. The writing never feels rushed. It feels like someone who sat with the subject long enough to actually understand it.
Outside of specific topics, what Rebecca cares about most is whether the reader walks away with something useful. Not impressed. Not entertained. Useful. That's a harder bar to clear than it sounds, and they clears it more often than not — which is why readers tend to remember Rebecca's articles long after they've forgotten the headline.